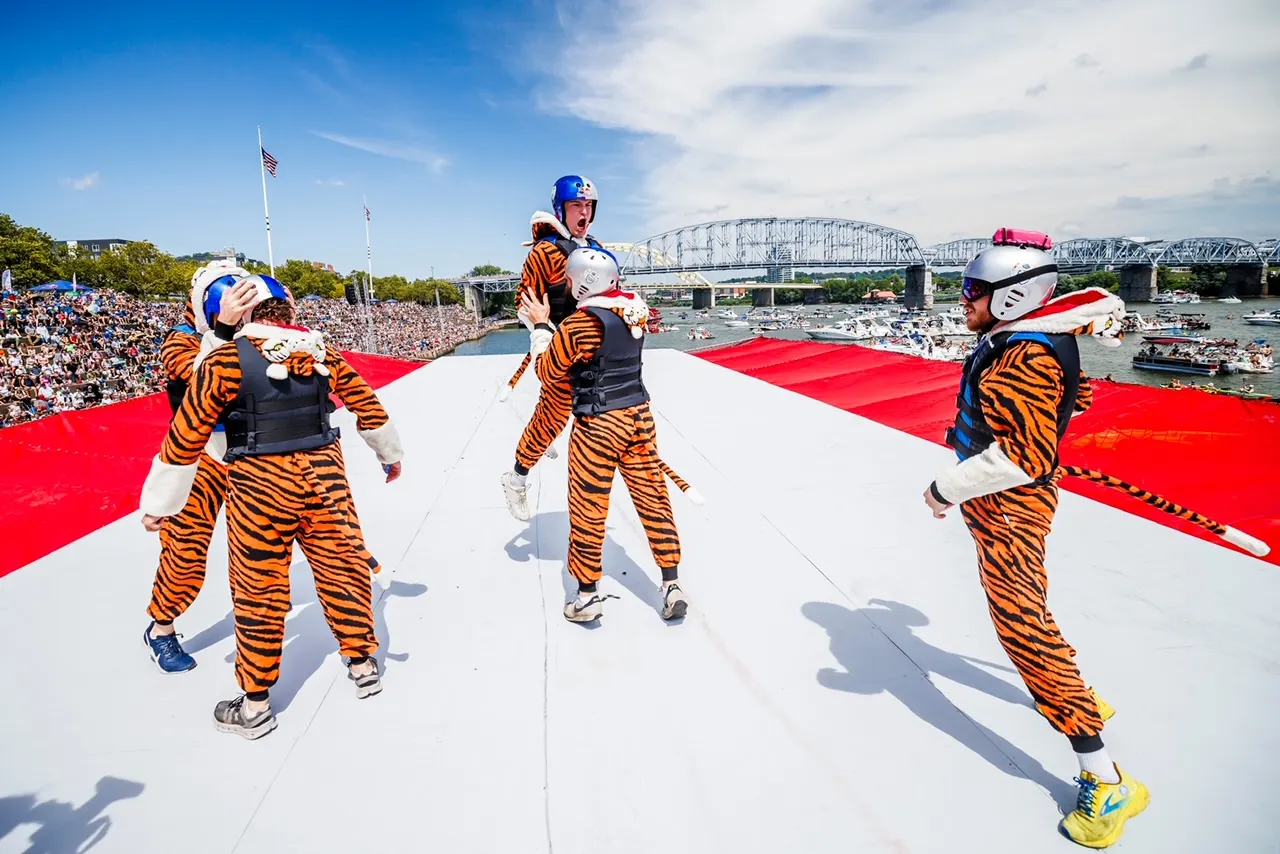
Red Bull Flugtag Cincinnati 2023
Design by Charlie Lindberg and Luke Lundberg
Build work also completed by Alex Lindberg, David Slattery, Scott Schumann, Teddy Taylor and Christopher Marrocco
Written by Charlie Lindberg
Background
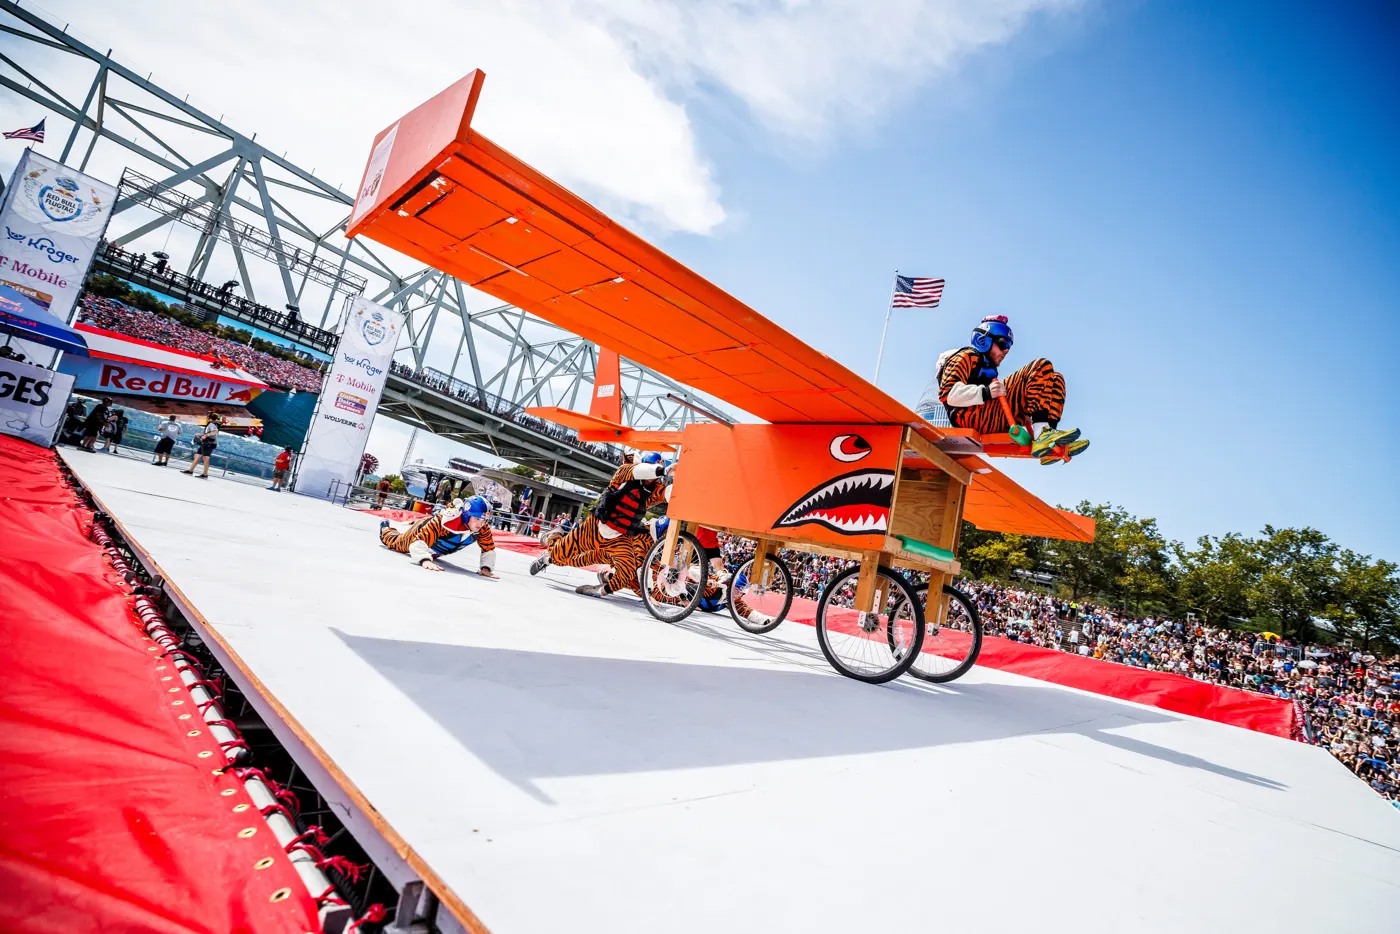
Red Bull Flugtag is an event that Red Bull holds once or twice a year in various cities around the world (most recently in Milwaukee, Auckland and Taichung) that challenges contestants to build a human-powered 'flying machine' that can travel the furthest after being pushed off a 30 ft ledge. Teams are primarily scored on distance flown, but their creativity and flying machine's appearance are also factors. The best way to understand the event is to watch this video or others like it.
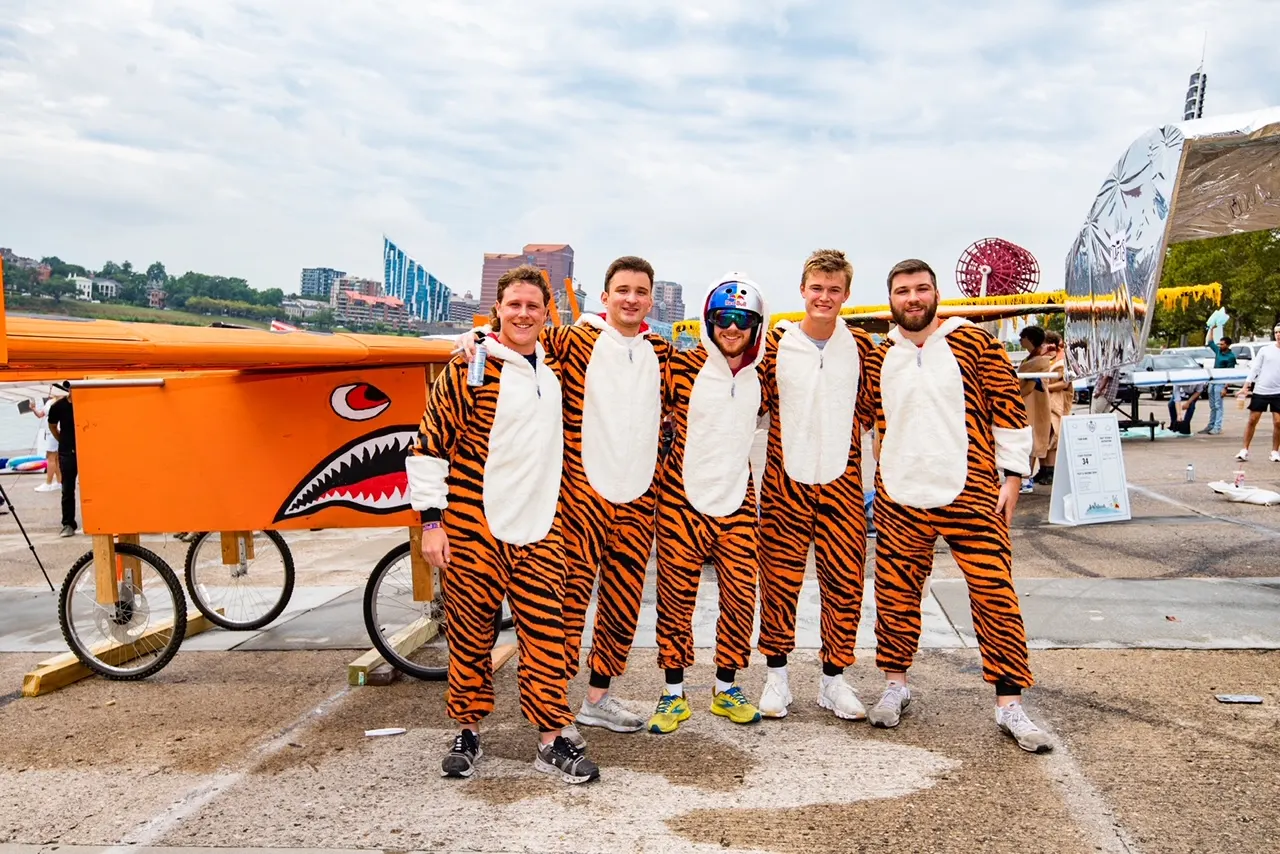
I had been aware of Flugtag for some time, so when Red Bull announced they were bringing the event to Cincinnati, I knew that I would have to form a team. I reached out to four of my high school friends: Luke Lundberg (Civil Engineering, Ohio State), Alex Lindberg (Computer Science, Ohio State), David Slattery (Finance, Ohio State) and Scott Schumann (Real Estate, University of Cincinnati). Luke and I designed the entire craft; the other three team members helped tremendously in building, organizing and raising money for the event. David Slattery was selected as the pilot due to having the lowest body mass of the five. After being selected by Red Bull to compete in May, we quickly got to work preparing the design of our 'flying machine'.
Design
After being selected in May, the building period immediately opened. The issue for our team was that although all of us grew up in Cincinnati, only one of us would be there for the summer. The other four were strewn across the country completing internships across four different time zones (Washington, DC, Chicago, Telluride and Seattle). The competition was being held August 12th and we would not truly be able to start building until August 6th. Having less than a week to build would be the driving constraint influencing our design decisions. We wanted to design a robust, simple glider that could be built efficiently. Luke and I set out to design the glider over the summer, ready to hit the ground running once we both returned to Cincinnati.
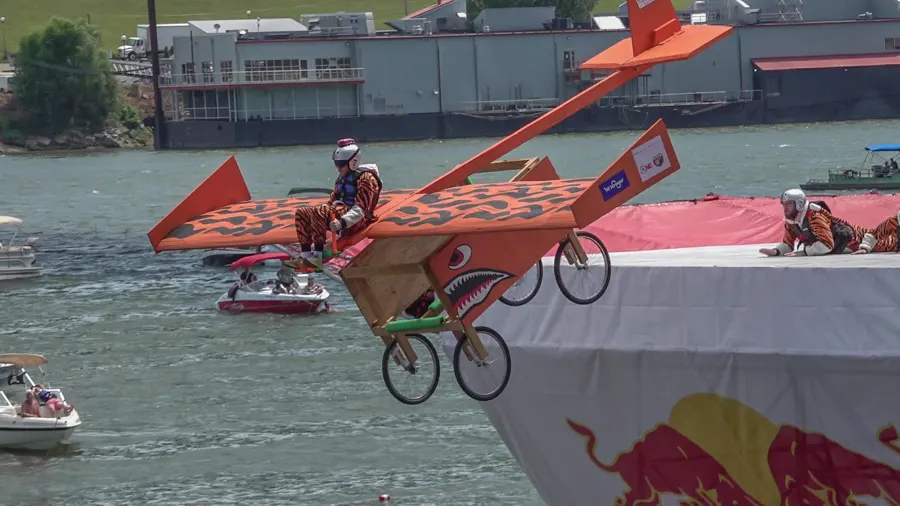
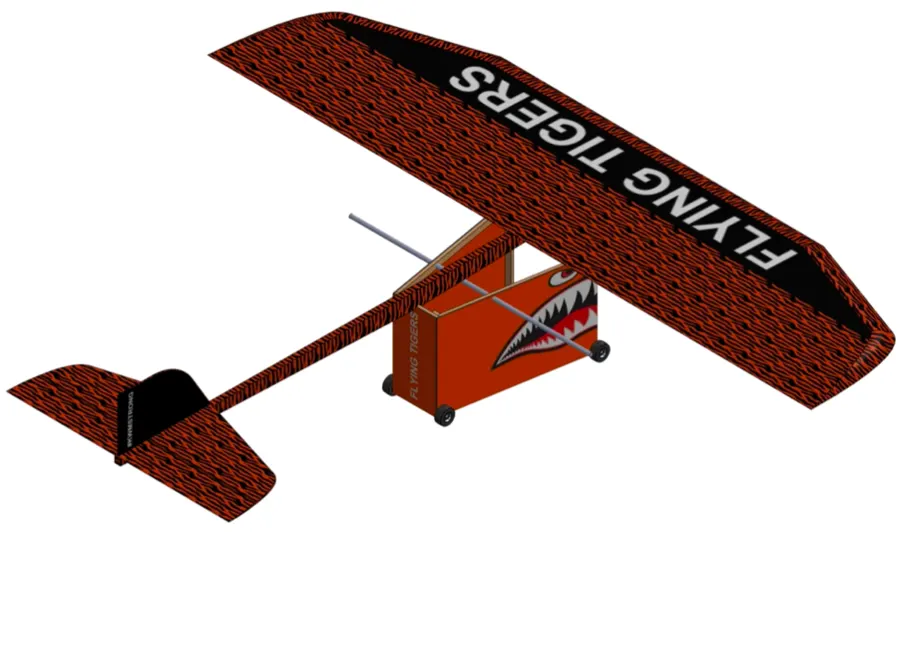
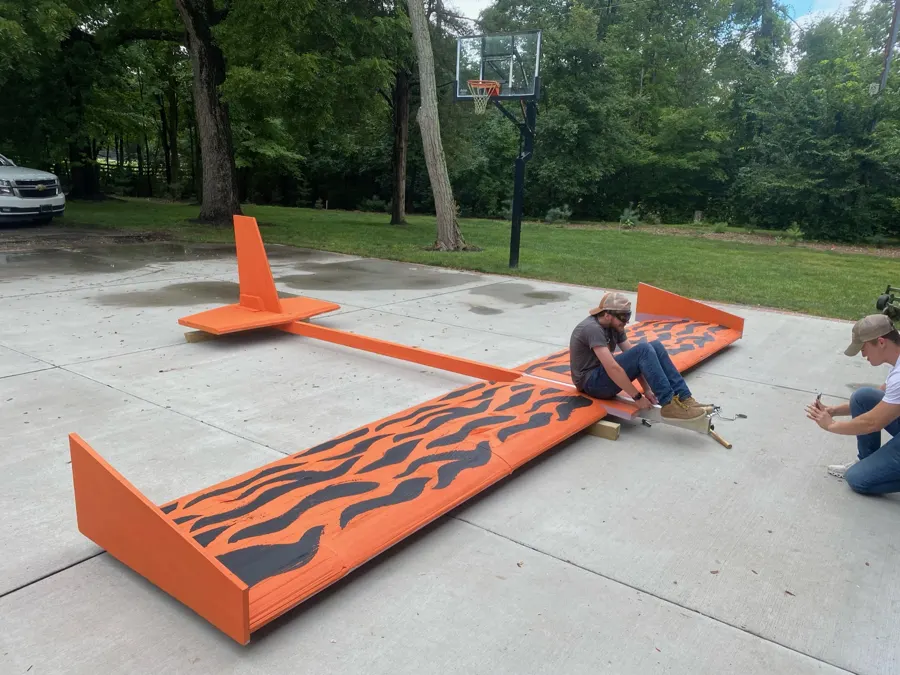
After watching probably hundreds of past Flugtag entries, we decided on a two-piece craft. There would be a push cart on the bottom and a glider sitting on top of it. The pilot would sit on top of the wing overlooking the whole contraption. We liked the idea of having the pilot on top so he could bail easily. The flat wing and square cart also made the build process relatively straightforward.
To actually build the craft, we decided to start with a frame of aluminum square tubing to construct the fuselage and support the wings. The wing surfaces would be made out of extruded polystyrene foam (XPS). As our team started returning to Cincinnati from their summer internships, we gathered the materials and set out to start building the morning of the 6th.
Build: Day One
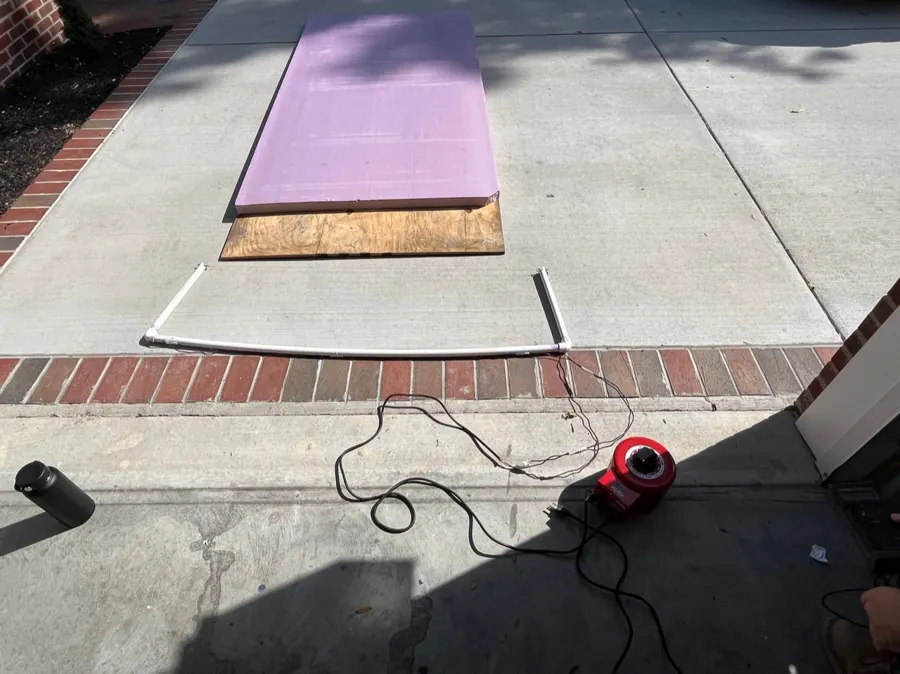
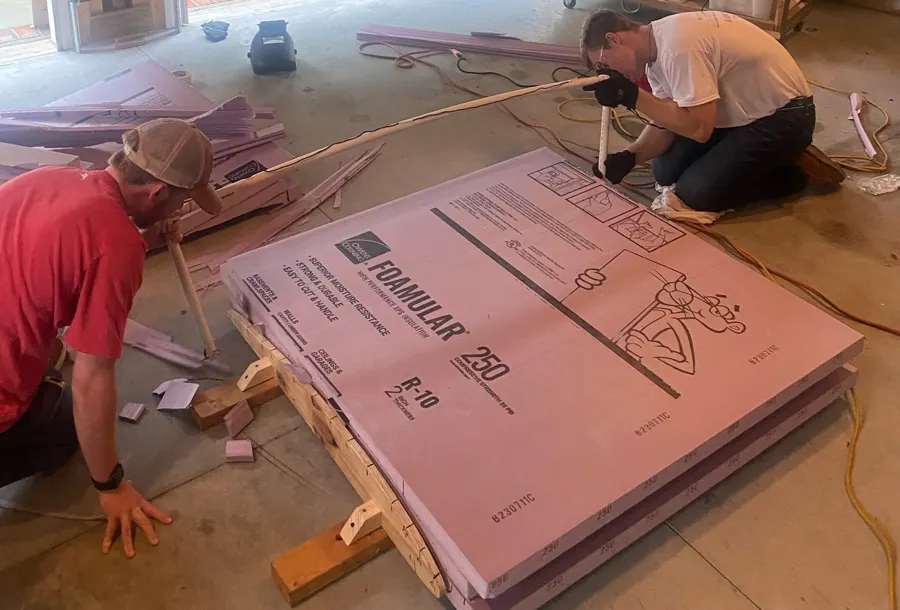
The main priorities for the first day were to set up the tools and initial steps to get the entire build into motion. The first thing we did was build our foam hot wire cutter. This device would be used later on to cut our XPS foam into a proper airfoil shape. To do this, we made a large PVC tube bow and strung a resistive wire on the open side. By applying a voltage from a variable PSU across the wire, you could heat it significantly to cut through foam very easily.
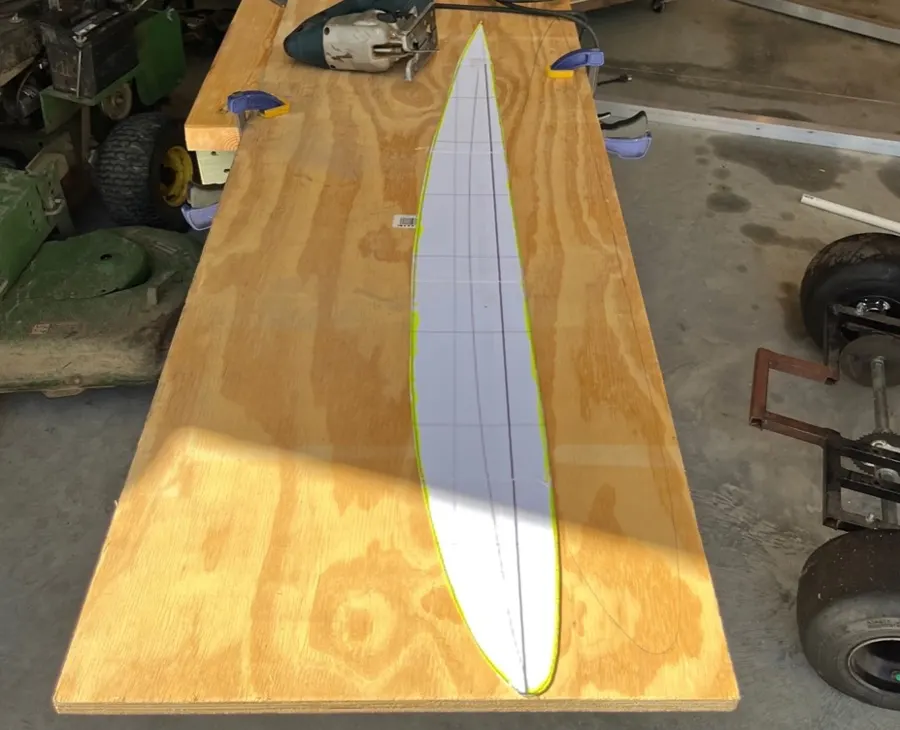
Next, we made the jig that would be used to cut the foam into the proper airfoil. This was done by first cutting out the preferred airfoil shape in plywood twice and then building a jig to support both of the outlines.
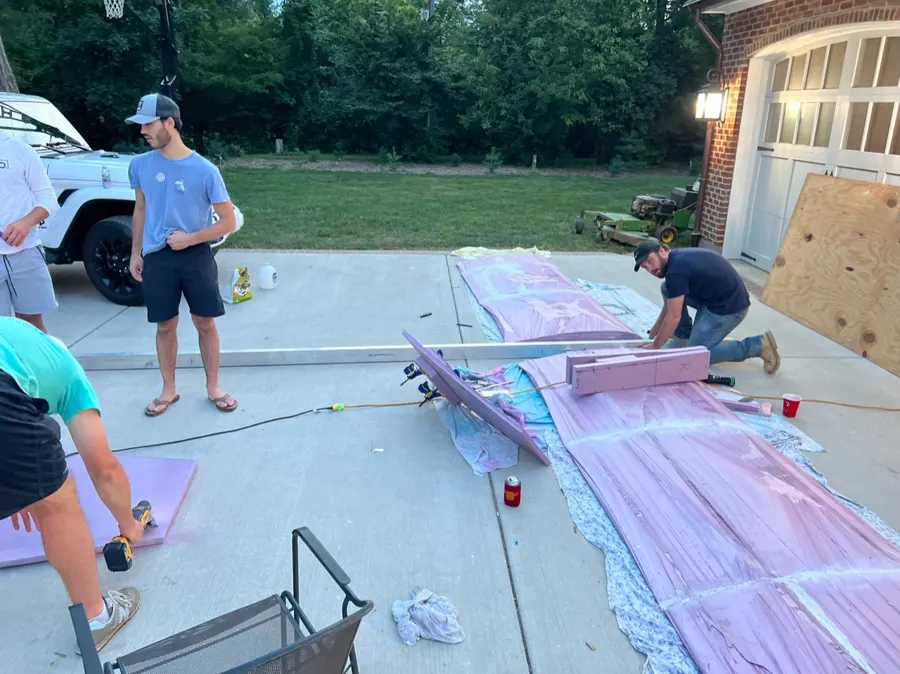
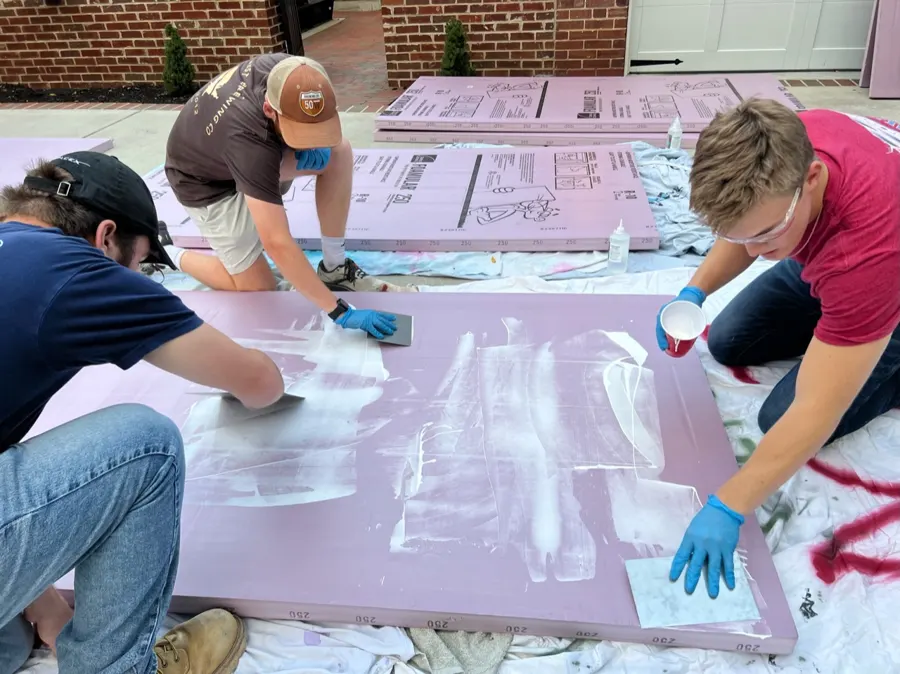
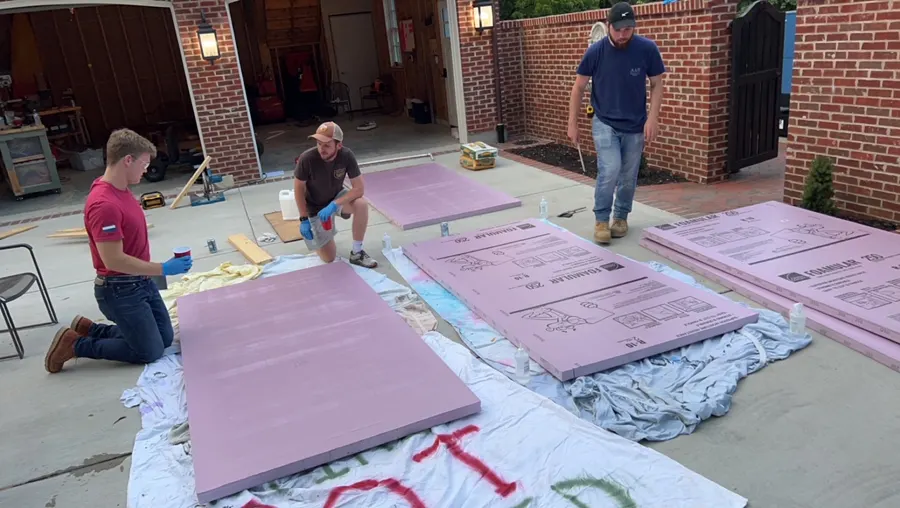
After these steps were completed, we glued a bunch of XPS foam together into 6" deep pieces to allow for the airfoil to be cut out the following day. We needed six 4 ft wide segments of our airfoil, so we ended up gluing together nine sheets of 4' × 8' × 2" XPS foam.
Build: Day Two
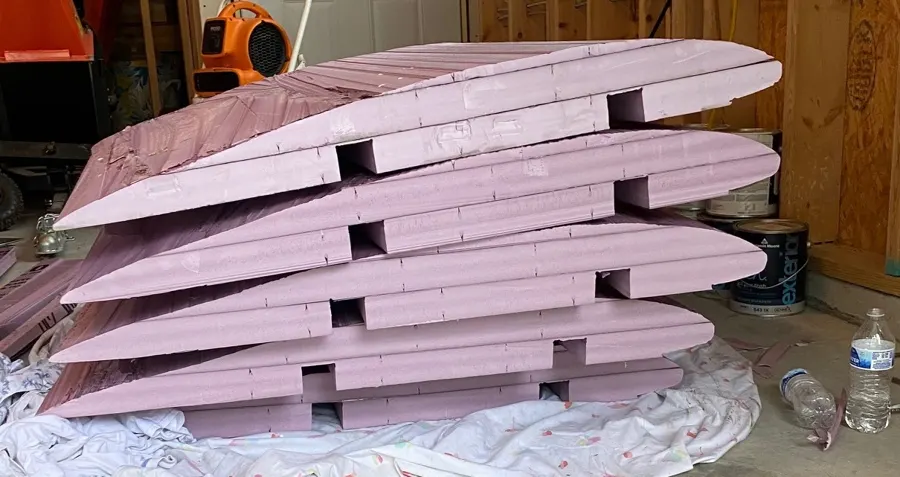
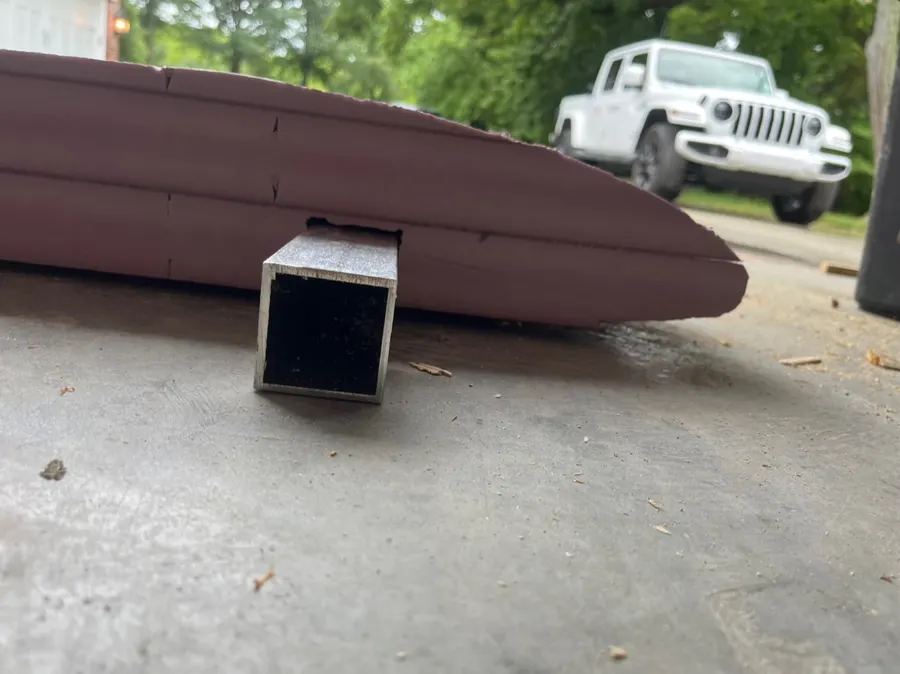
Our first order of business on the second day was to begin cutting out airfoils. After splitting the 8' long XPS block into two 4' wide sections, we could begin using the hot wire to cut them out. After placing the foam into the jig, the hot wire was traced along the outside to cut out the desired shape. This process was repeated, resulting in six sections of airfoil. We would also eventually add two notches into the bottom of the airfoils to allow them to connect into the aluminum frame of the glider.
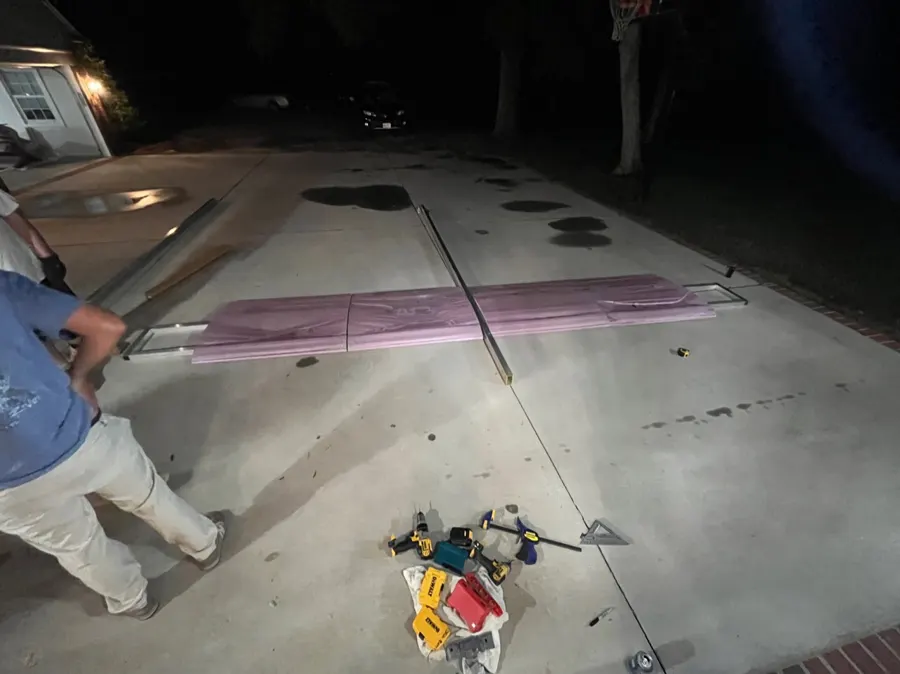
After wrapping up the foam airfoils, we began work on the aluminum frame of the glider. The first step in this was cutting two large notches into the fuselage beam for the wing supports to go into.
After this, we began assembling the overall frame, adding bolts and brackets to the intersection of the main beam and wing members. We also added two short pieces of aluminum to the outside edge of the wings. We were also able to start fit testing the airfoils onto the frame at this point.
Build: Day Three
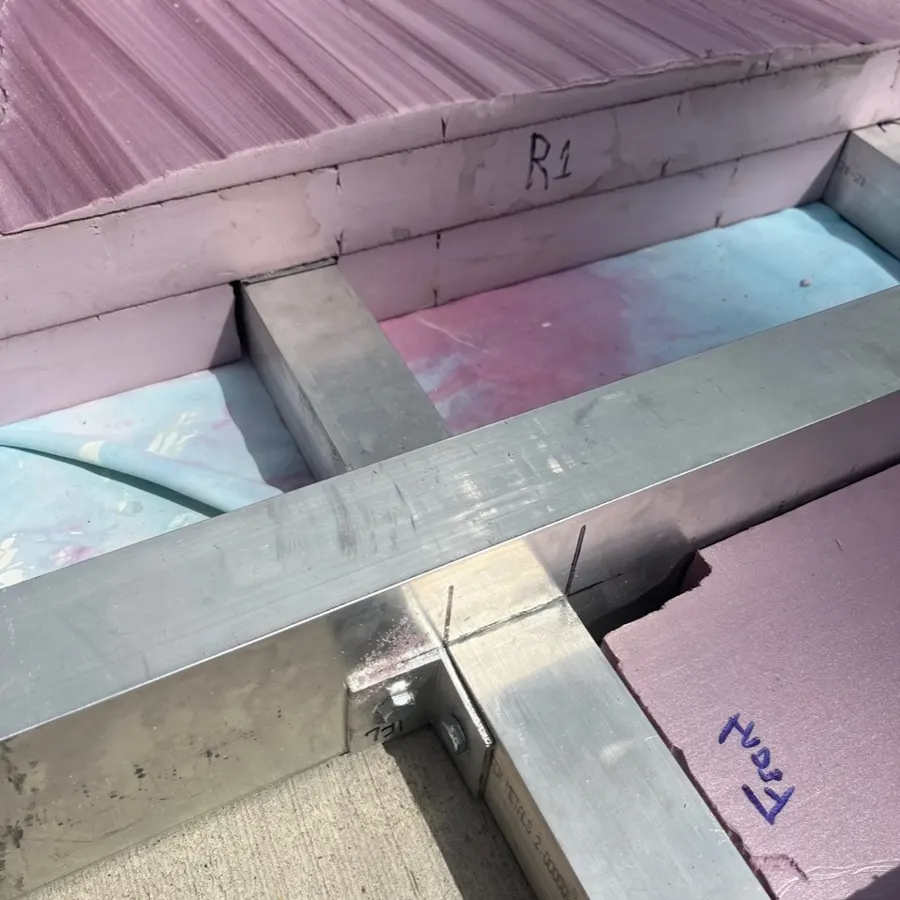
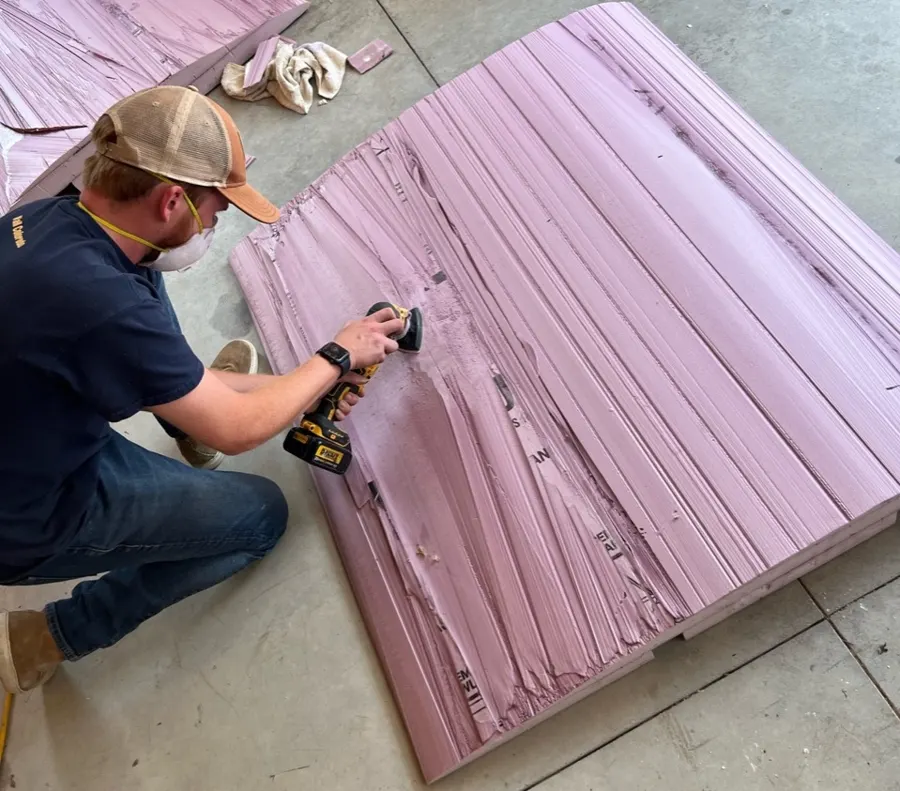
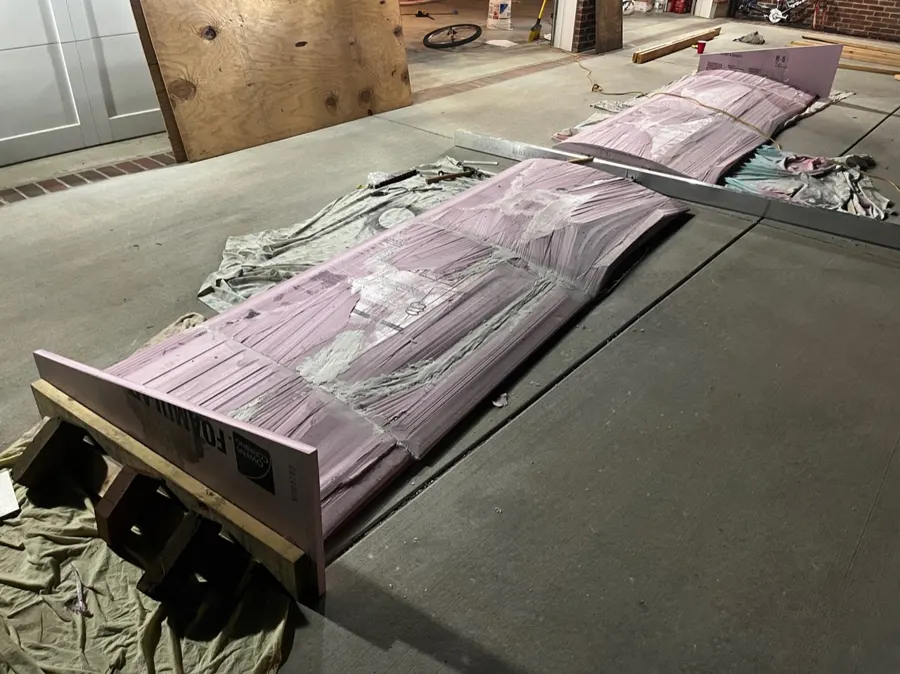
On day three, we set out to attach the airfoils to the aluminum frame and sand and condition the airfoils, as well as start work on the tail section and push cart. The airfoils were first sanded to achieve a smooth surface. Then a foam-specific plaster was applied to any gaps or divots across the entire wing. We wanted to get everything ready so painting could begin on the following day.
We also completed work around the joint of the metal frame. First, we finalized the hardware and brackets that were used to connect the fuselage to the two wing members. Then we built foam inserts to create a smooth surface over the joint. Additional work was also completed on the forward fuselage where the pilot would end up sitting.
Build: Day Four
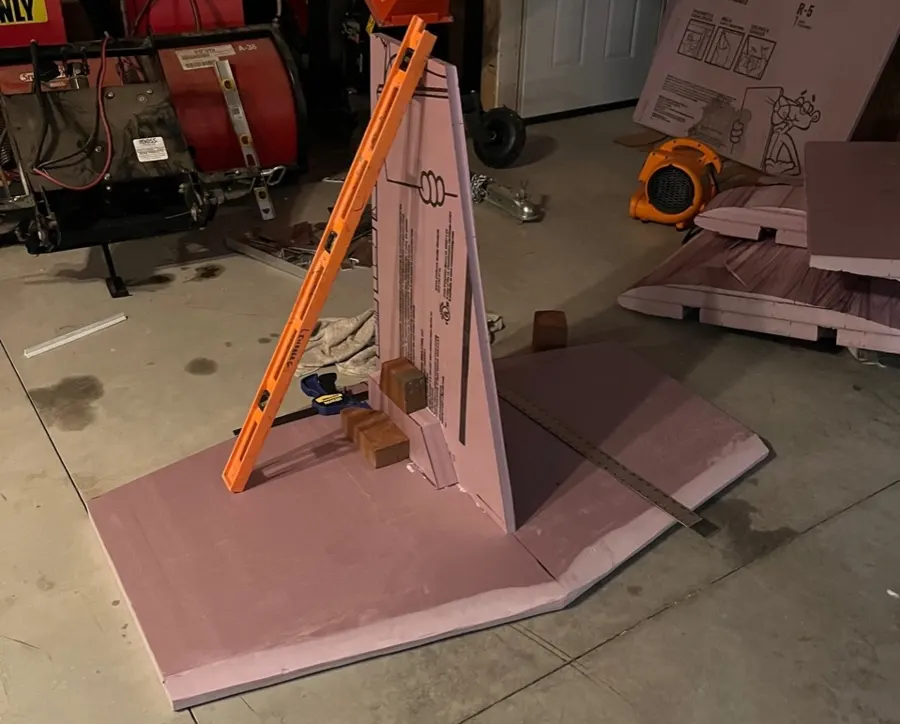
On day four, we were able to complete the tail section, paint the wing, finish the push cart and apply foam to the exposed aluminum fuselage. The tail section was relatively straightforward: we glued two pieces of foam together after roughly sanding an airfoil shape into each.
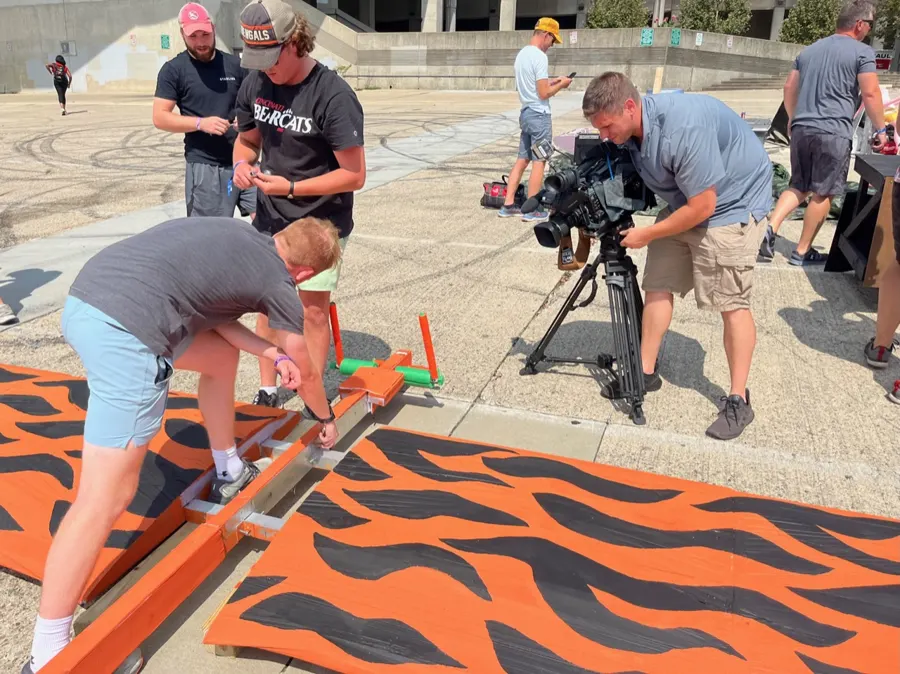
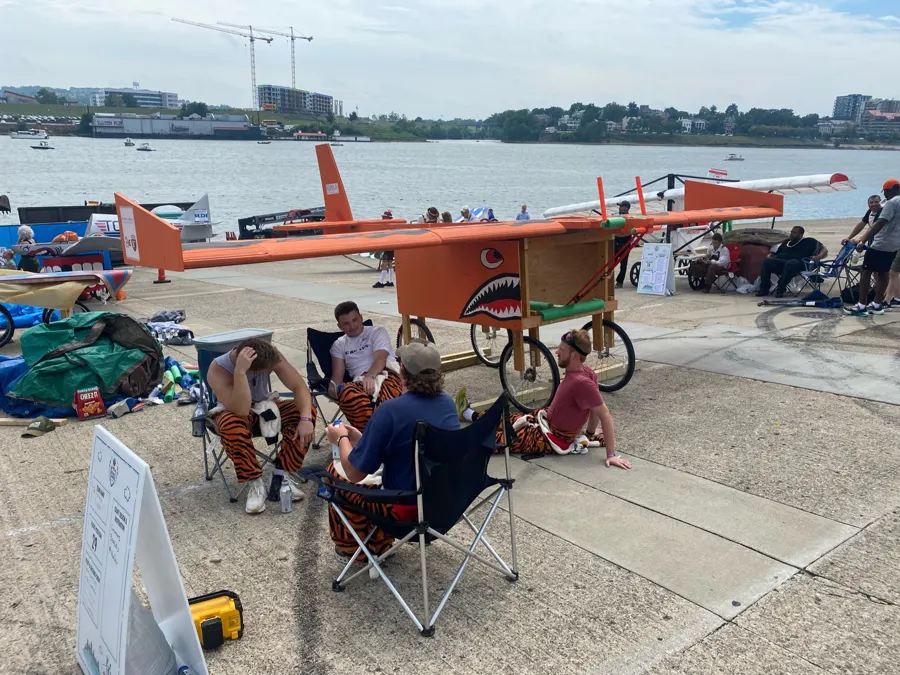
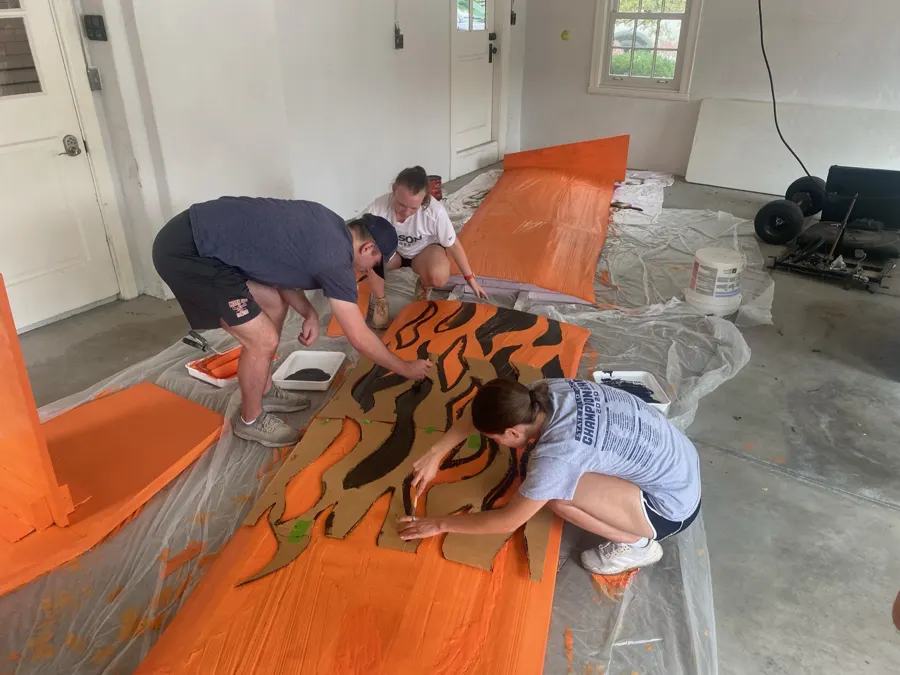
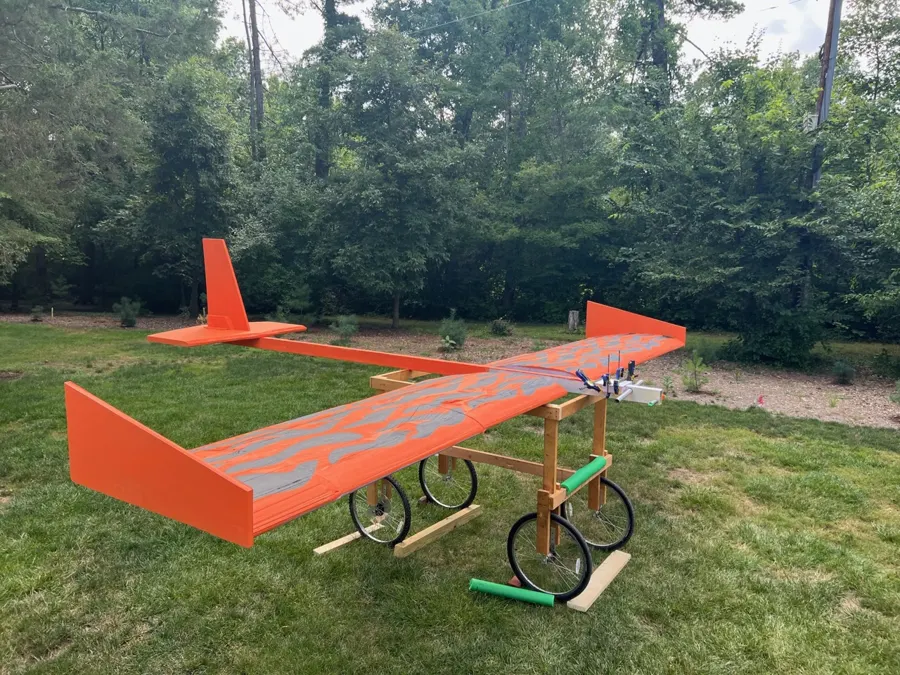
After this, we were able to begin painting the wing. We simply applied acrylic paint right onto the foam. I thank my two sisters for doing the majority of this work. They first painted the entire wing in a base coat of orange and then used a cardboard stencil to add the stripes.
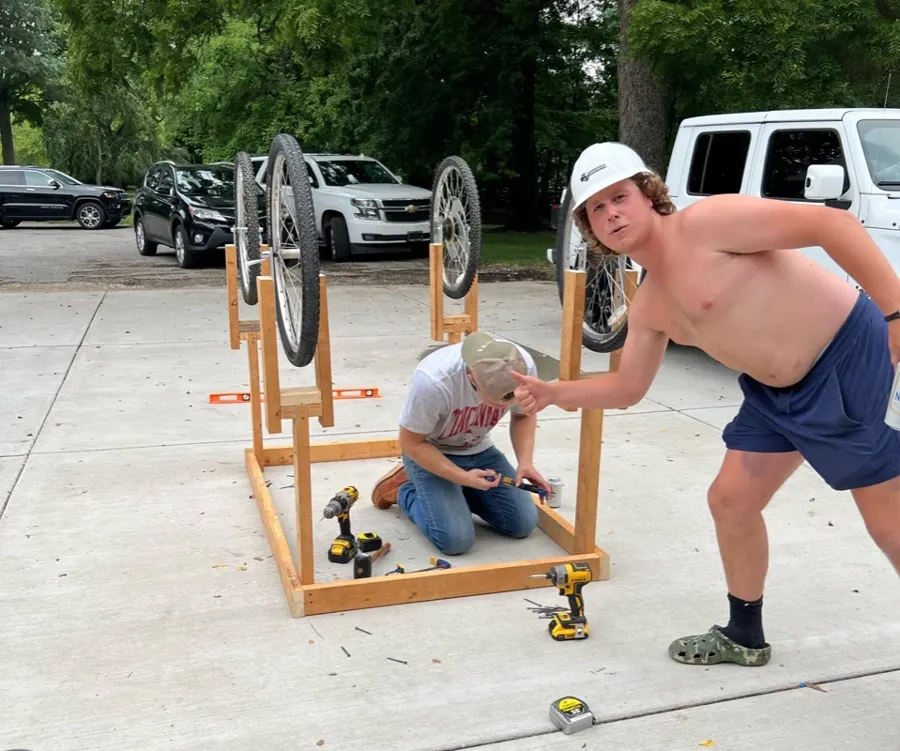
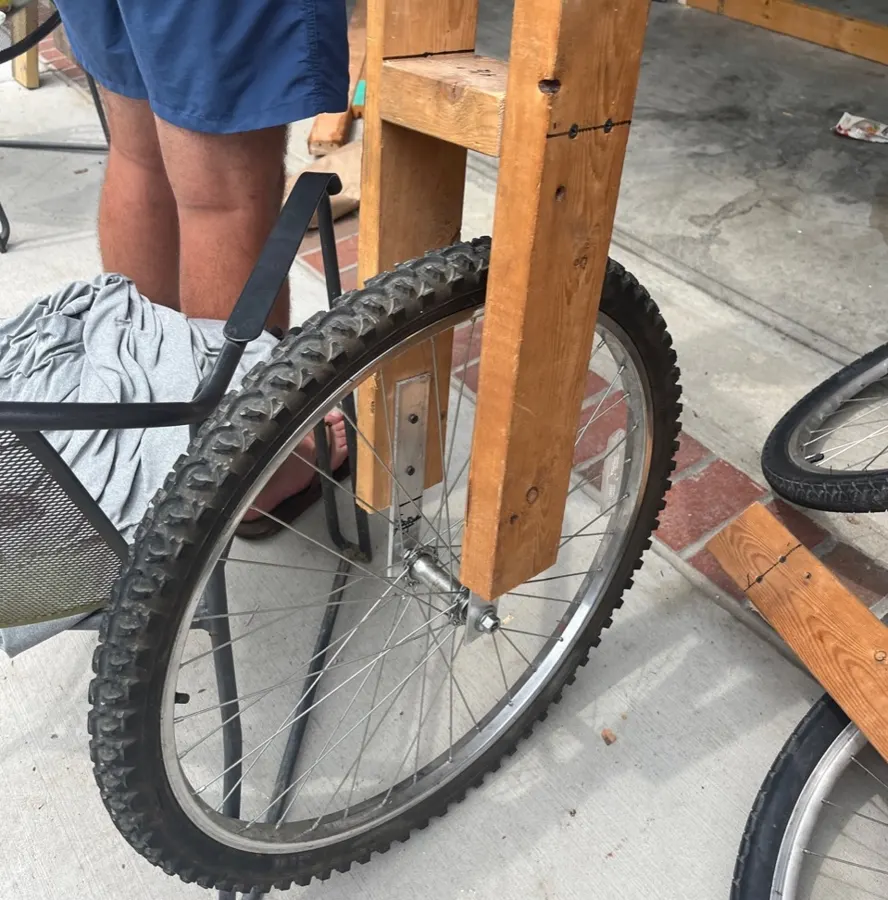
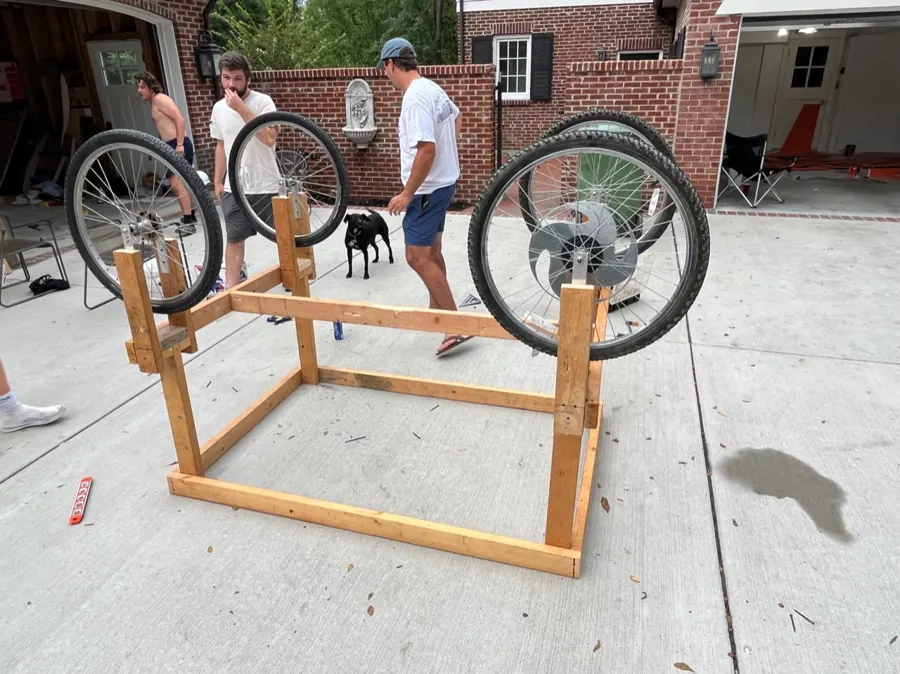
The first big step to completing the cart was getting all of the wheels ready to be installed. We decided to use bike wheels to allow us to get as fast as possible while pushing on the flight deck. We created a bracket that would go on either side of the wheel and was then joined just above it. After completing four of these wheel brackets, we built a wood frame that they simply screwed into. With the wing, tail and cart complete, we were ready to start final preparations before flight day.
Build: Day Five
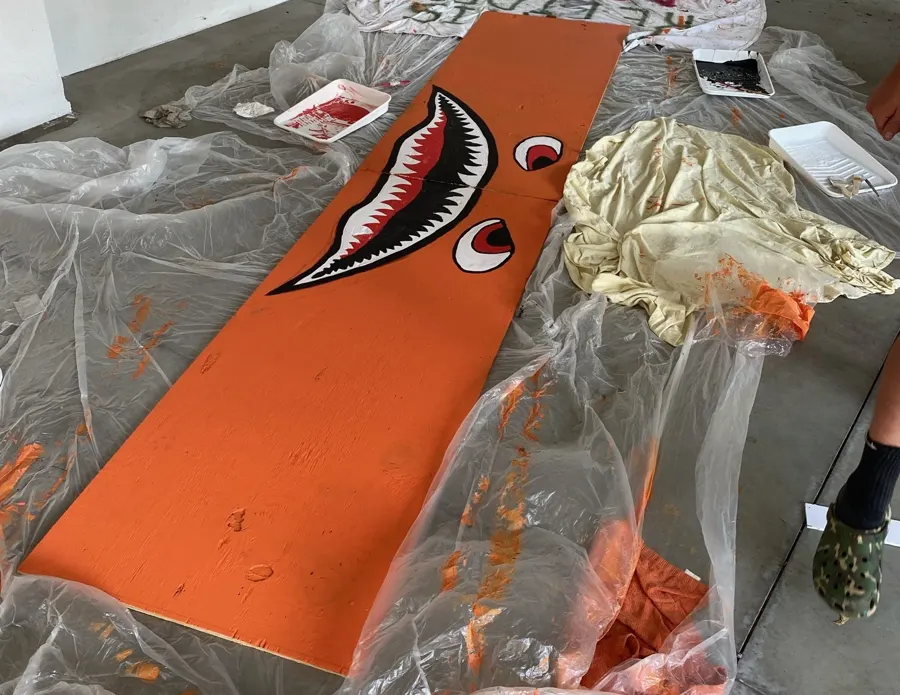
We started the day by adding final paint touch-ups to the entire craft as well as painting the bottom of the wing. We also painted the side panels that would go on the sides of the cart.
Next, we worked on finding the correct pilot positioning to optimize the location of the center of gravity of the glider. We wanted the center of gravity to be about 4" in front of the center of lift (estimated as ⅔ of the chord length of the wing). We wanted to make sure the glider 'flew' forward for pilot safety reasons and wanted the CG to be forward if anything. We eventually arrived at what I believed to be the correct pilot positioning and gave David a big 'X' for where to sit.
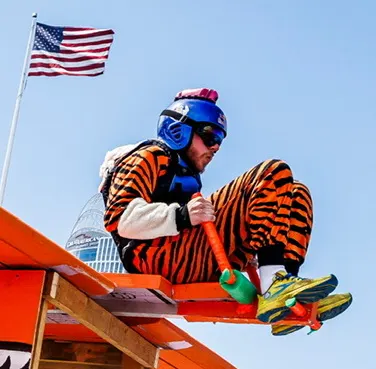
Later that night, we also added a handlebar and a footrest to make sure the pilot could stay on during takeoff. We completed the day by putting the whole craft together and rehearsing our plan for takeoff.
Performance & Conclusions
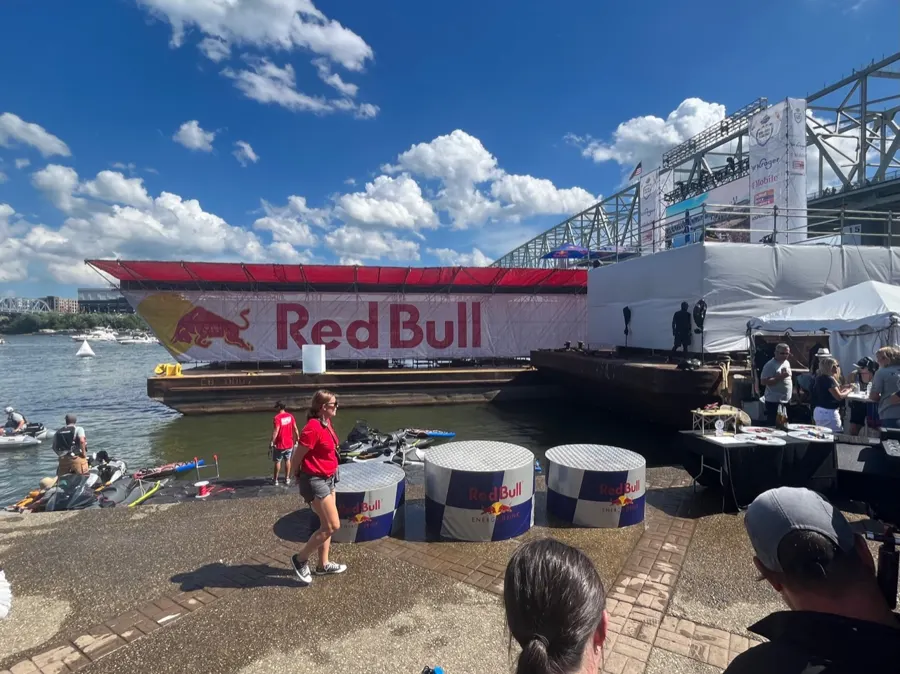
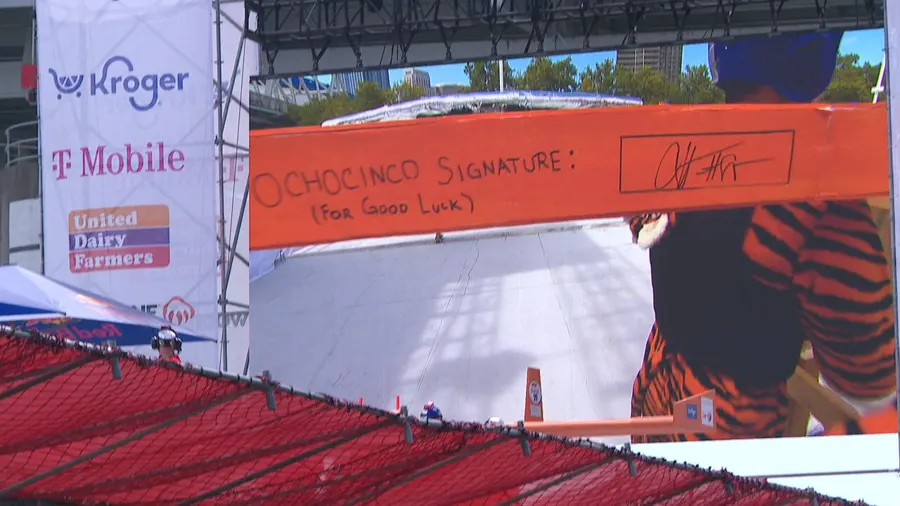
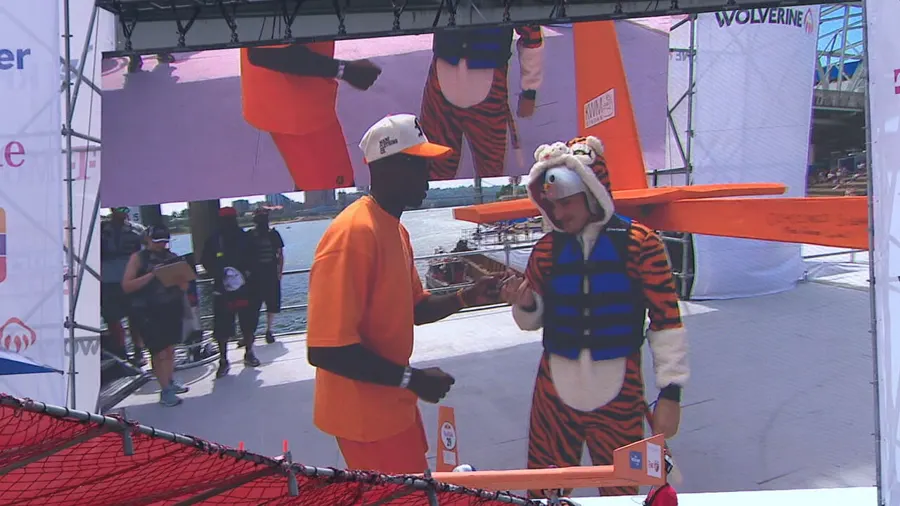
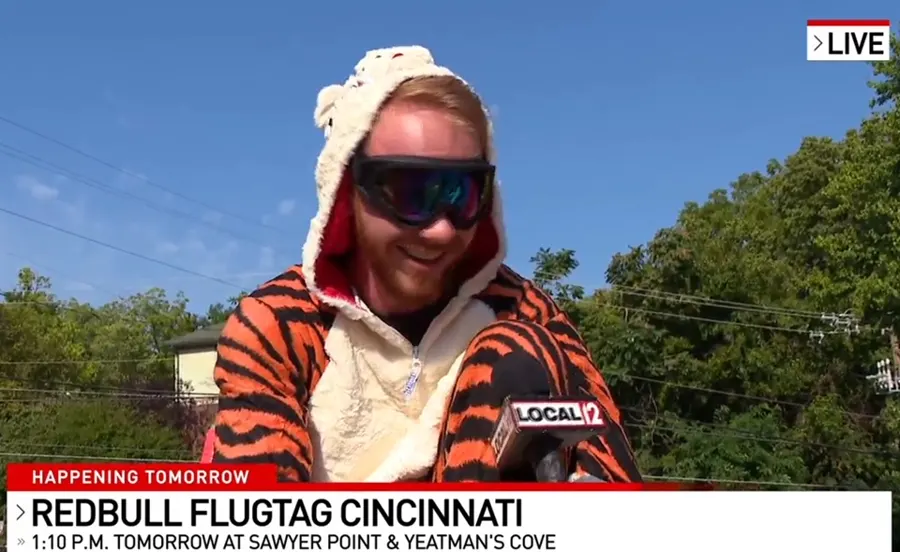
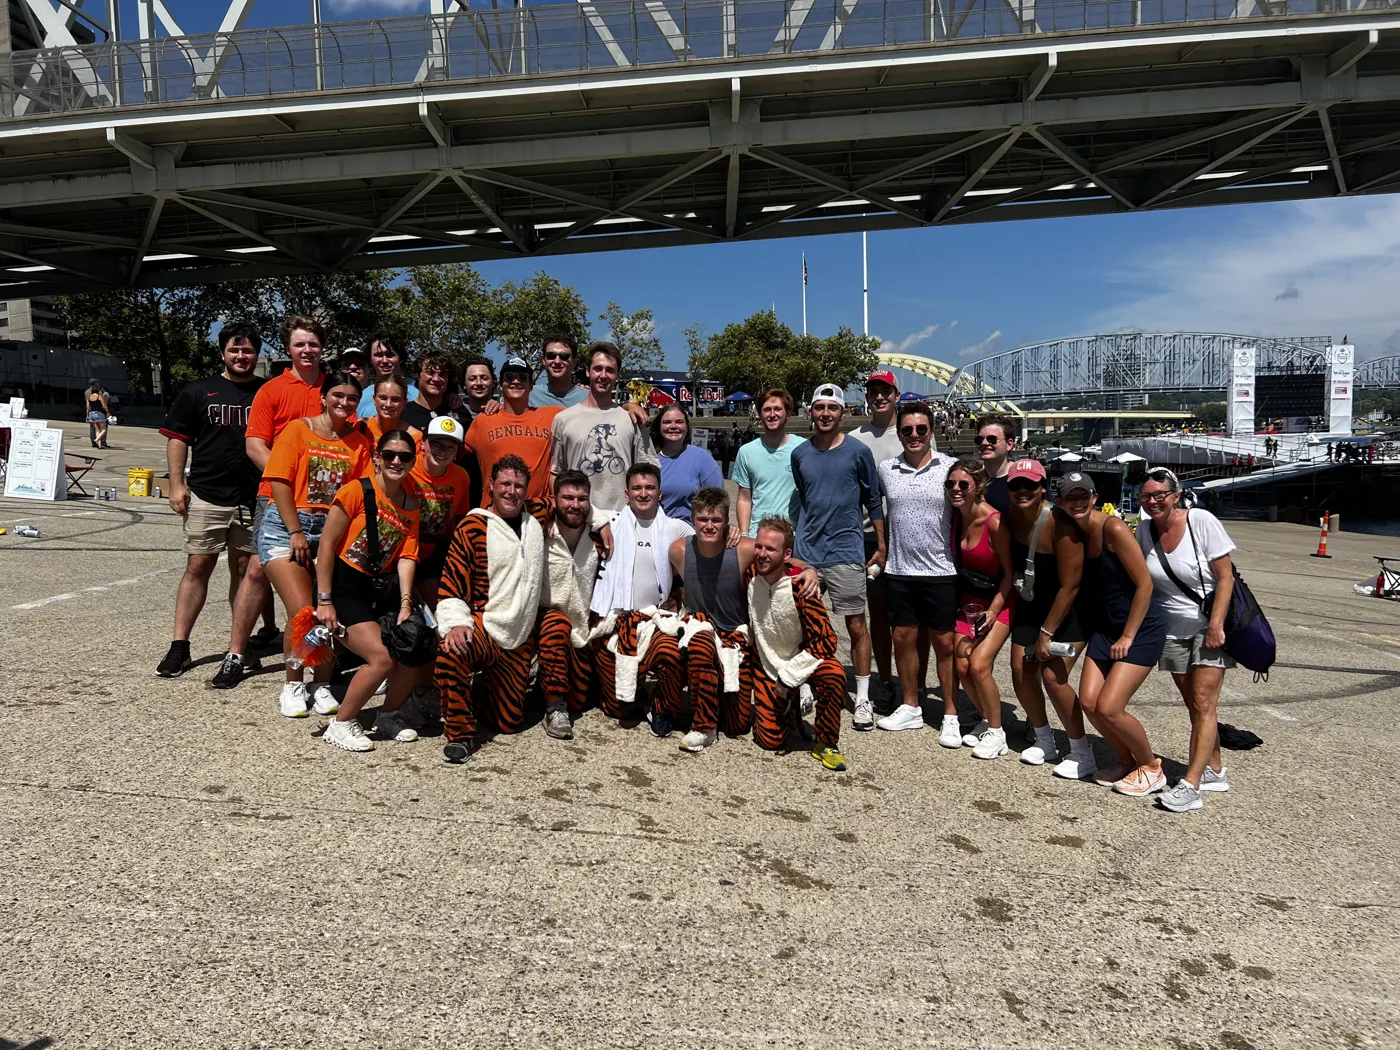
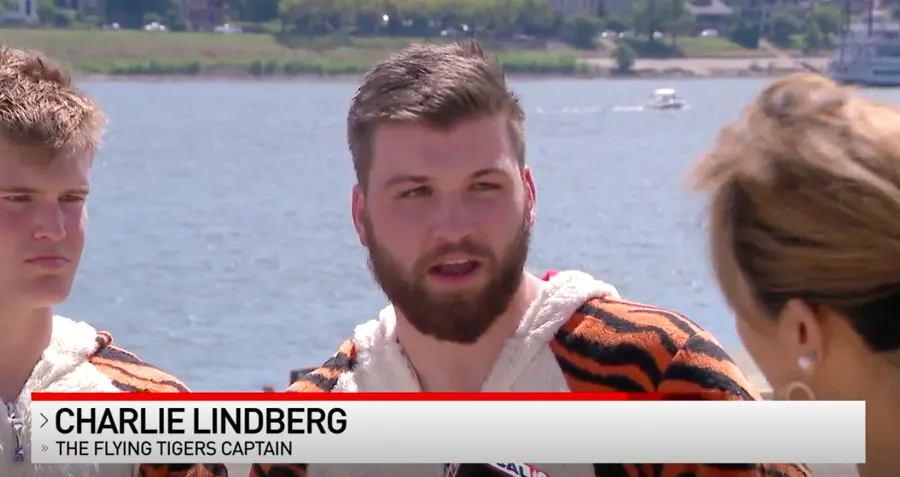
We dropped off our craft on Friday, August 11th, so Red Bull could do safety inspections before the actual competition the following day. Our flight slot was 29 of 39 on Saturday, and we ended up getting onto the flight deck at about 3 PM. It is Flugtag tradition to do a quick skit before takeoff; we ended up doing a quick dance to "Bang the Drum All Day" by Todd Rundgren. You can watch our skit and flight here (start at 8:56). On the day of the competition, as well as the preceding days, our team received considerable local media attention (CBS affiliate WKRC: postflight interview, preflight interview; ABC affiliate WCPO).
I think our flight ended up being decently successful. There was about a 15-knot tailwind that hampered basically everyone's craft at this event. We ended up recording a distance of 33 ft, and the longest of the day was 54 ft. We ended up being very successful with the judges, scoring three 10s and two 9s, which I believe was the fourth-highest score of the day. It was an extremely fun event that I hope to have the chance to participate in again.
Photos